Thursday 18 February 2016

Birthday Fishes

It's a beautiful afternoon here in Preston, Lancashire.  A little bit nippy but the sun is shining and the sky is blue.

I'd like to share a card with you that I recently made as a sample on Barbara Gray's Clarity Stamp Groovi Plate show on Hochanda.

 
This card was fun to make and seems to make everyone smile.  Here's how I made it.
 
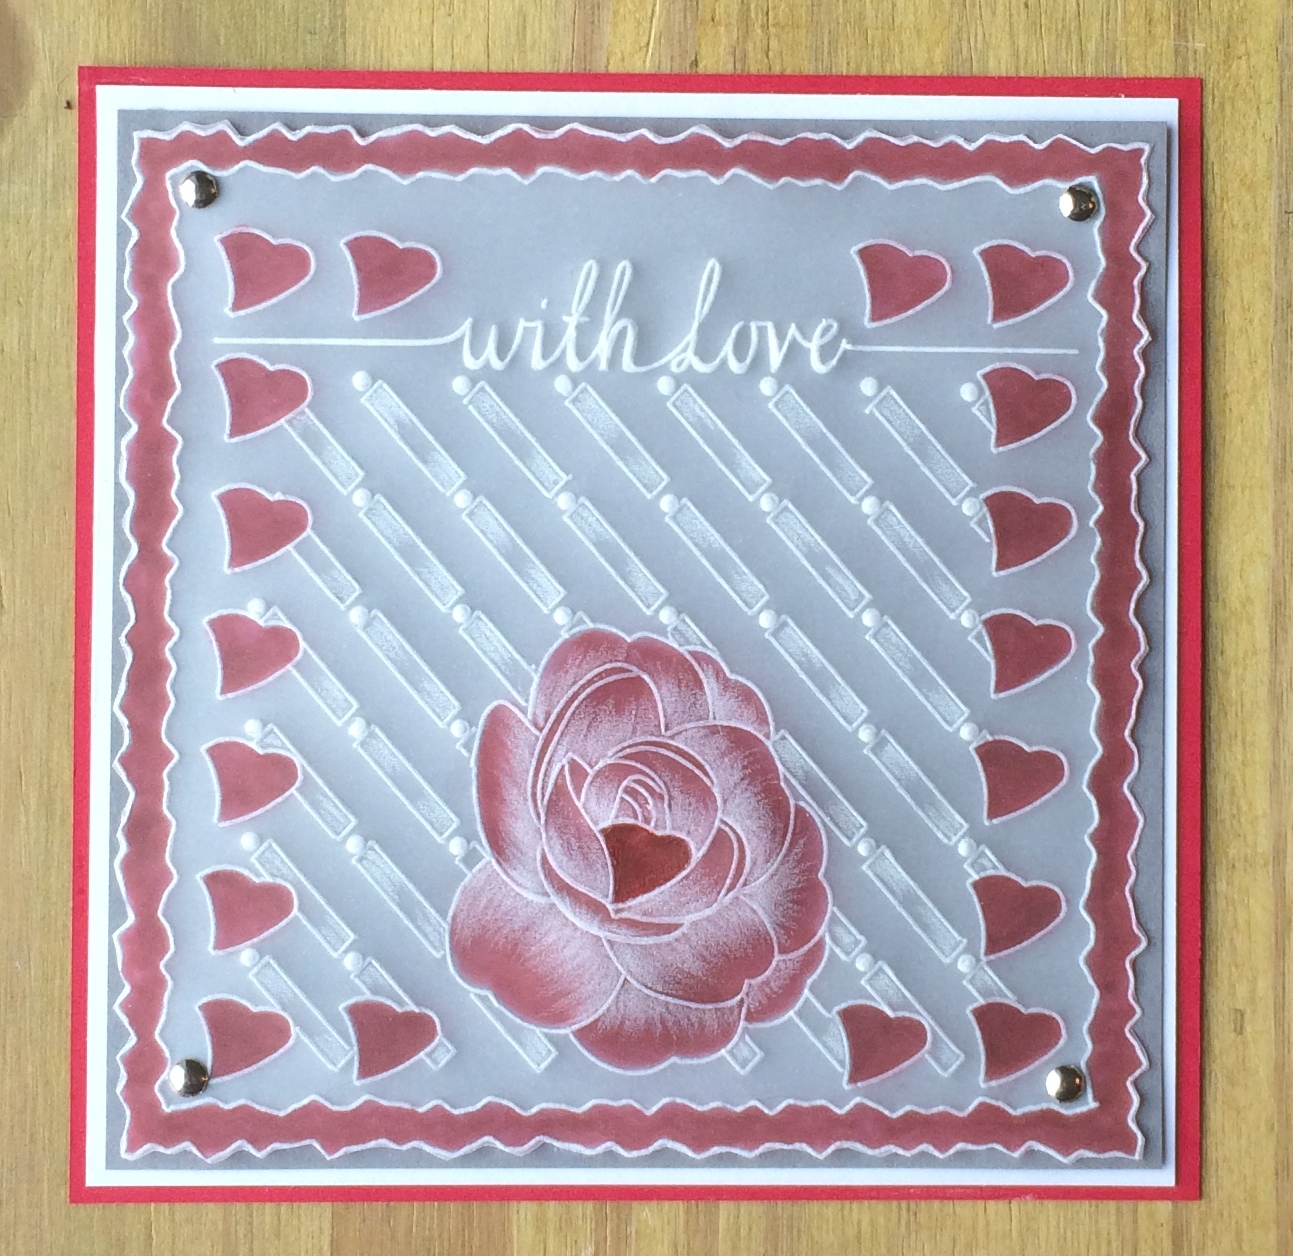
Firstly create a frame using the nested squares Groovi plate. 
 
To create the bubble effect within the frame use the Half Tone Groovi border plate.
 
 
Add the sentiment using the Alphabet on the Groovi Plate Mate.
 
Now to create the scene in the centre of card you need the Henna Groovi border plate.
 
 
I love this plate.
 
Firstly emboss the "paisley" pattern along the bottom to create the sea.  I have done some embossing and colouring with pencils within the pattern.
 
Now to make the little fishes. This was really fun to do.
 
Using the "paisley" pattern again, we need to make the body of the fish.
As you can see on the image below, I have used two pieces of the pattern to form the body shape.


Another two pieces of the pattern make up the tail.

 
To add detail to the body I have used other shapes on the border plate to make the fish scales and fins.
 
 
The semi circle pattern was used to make the scales and the other shape was used to make the pelvic fins.  The dorsal fin was made using the inside of the paisley shape.


For the eye and lips I have used circles from the Half Tone border plate.
 
I have added another layer to the tail which I think finishes him off nicely.
 
I have coloured the fish on the back of the parchment with Polychromos pencils and added a little embossing too.
 
All that is needed now are the bubbles.


This was a lovely card to make.  I do hope you try it.  I'd love to see your finished cards.
 
Susan x


Tuesday 2 February 2016

Beautiful Roses

After a wet, gloomy and very windy couple of days I thought I would bring a bit of colour and freshness your way.  The roses on this card are beautiful and vibrant, reminding us of the summer months when our gardens are a carpet of colour and emitting a delicate fragrance,

This is one of my samples from the Clarity Stamp show on Hochanda with Maria Simms.

 
These are the Groovi Plates I have used in this project.


I have also used the Classic Frame Nested Groovi Plate.
 
Firstly I embossed the largest of the Classic frames on the nested plate.  Next position the roses in the centre of the frame. Now add a smaller classic nested frame, avoiding embossing over roses. You can choose which frame to use depending on how deep you want the finished frame.
You can see on the sample card that I have embossed the trellis design within the frame.  Before doing this you will need to add the sentiment of your choice.
 
On my card, I have embossed one of the roses almost totally with the ball tool. A small area close to the embossed line art is left untouched to give the appearance of shading or shadow.
The other two roses have been perforated around the embossed lines and snipped away using Parchment scissors or snips.  If you don't feel confident doing this, you could colour the rose on the back of the parchment which would give a similar effect.  I would suggest using Distress Markers or Polychromos pencils.  The Distress Markers will give a more vibrant colour than the pencils.
 
On my example I have used a bold, straight grid to perforate within the leaves.  Again you can vary this by colouring the leaves instead or adding a bit of embossing to give some definition.
Lastly, I have added some shading within the trellis background with coloured pencils.
 
All that is required now is to mount your finished design on some coordinating card.  I have secured mine with brads.
 
Please share your card if you make one similar, I would love to see them.
Susan x


Monday 25 January 2016

Sharing the Love

Good morning everyone.
Valentines Day is just around the corner so I thought I'd share a card that would be perfect for that special person in your life.

 
These are the Groovi Plates that I used for this project.


Firstly I used the nested Deckle Square plate and embossed a border using the smallest ball tool.
Next I chose my sentiment and embossed the words.
If you look closely at the Rose Plate, you can see that on the rose that is positioned at the bottom of the plate, there is a perfect "heart" within the petals.
I used this to create another border within the deckle border.  Leave enough space at the bottom to put in the rose.
After embossing the hearts and the rose it was time to think about the background.  I have used the trellis plate but changed it up a bit.  I have only embossed the design in one direction.  Inbetween the embossed rectangles I have embossed a small circle.  I did this freehand but if you would prefer to use a plate, there is a perfect circle on the Border plate that came in set 1 & 2.
 
 
I have coloured the border, hearts and rose on the back of the parchment using a distress marker. I have also added some embossing on the rose to give more depth to the flower.
 
Please let me know what you think of the card and if any of you try this, I would love to see what you do.
 
Have a lovely day.
Susan x
 

Thursday 21 January 2016

Floral Bouquet

Good afternoon everyone.  It was a lovely day yesterday, the sun was shining all day.  Today, however, is quite overcast and gloomy.  What better way to brighten up the day than a beautiful, bright, colourful bouquet?
 
This is one of my samples from Maria's last show on Hochanda.


I have used the following Groovi plates:-


Firstly, I used the nested Octagon Plate and embossed a border using the smallest ball tool.
Next I worked out my flower arrangement.  There are endless possibilities, I have made a few cards with different bouquets. 
I added a sentiment at the bottom.
My favourite part of the project now - colouring and embossing.  I have done some colouring on the back and some on the front.  I like to do both as it gives the flowers more depth.  I have used Faber-Castell Polychromos pencils to colour the design. I have also done a little embossing on the back of the parchment.
Finally I added some embossed lines within the octagon border.
I have hand-stitched the parchment onto the card.  This does take a while to do but I think it finishes off the card beautifully. 
 
Hope this has brightened up your day too.
 
Susan xx